The following article describes how to link your GoDaddy/Domain Manager backed registered domain name with your Crevado Portfolio.
Remember: Custom Domain name binding requires a Premium account for details see the plan comparison page
Go Daddy and hundreds of other DNS service providers use Domain Manager.
If you run into any trouble, you will find it more helpful to first contact your domain provider for support as they have access to those settings (while Crevado doesn’t). Here are direct links to the support pages of GoDaddy, Domains Made Easy, Domain In Seconds.
Set Up Your DNS
Log into your domain manager powered account and go to your My Domains page. From the My Domains page, find the domain you are looking to use and click on the name of the domain:

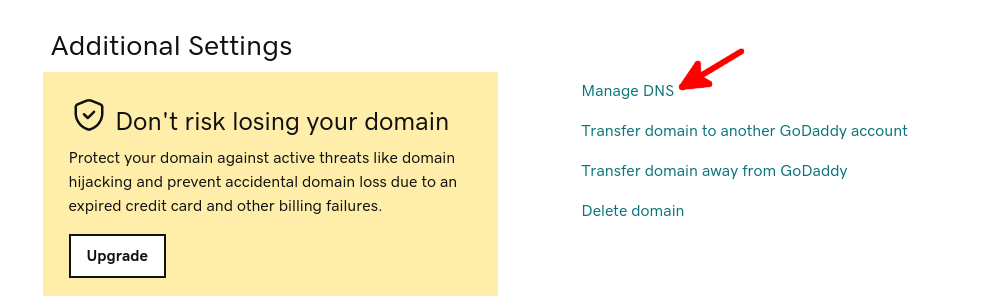
This will take you to the Domain Settings page and here you need to scroll down to the Additional Settings area and click on the Manage DNS option there:
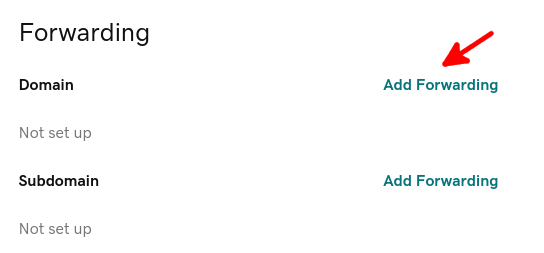
Now you are on the DNS Management page. First we need to setup forwarding so requests to the root of your domain (e.g. your-domain-name.com) get forwarded to the www subdomain (i.e. www.your-domain-name). To configure this, scroll down to the Forwarding area and click on the Add Forwarding link next to the Domain Forwarding option as highlighted in the screenshot below:
When you click on Add Forwarding more options will appear. First enter the full www version of your Custom Domain Name, i.e enter your Custom Domain Name in the forwarding and **NOT YOUR
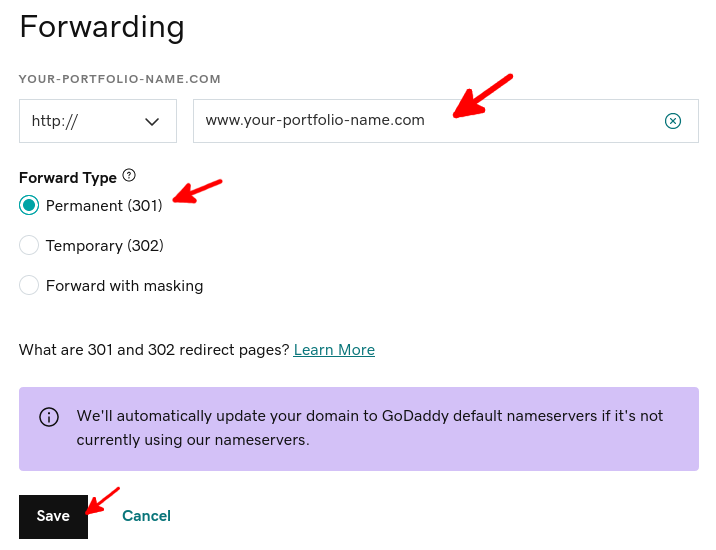
A pop-up will appear stating that the forwarding configuration has been saved and will become active shortly:

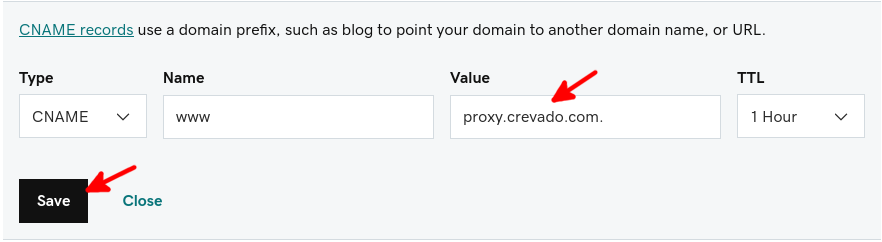
Woohoo! We're almost there... now we just need to point www.your-domain-name.com to Crevado. From the DNS Management page, locate the DNS Records area at the top of the page. Locate the www alias. This is the CNAME you will be editing, so click the Edit button for the www CNAME alias as indicated below:
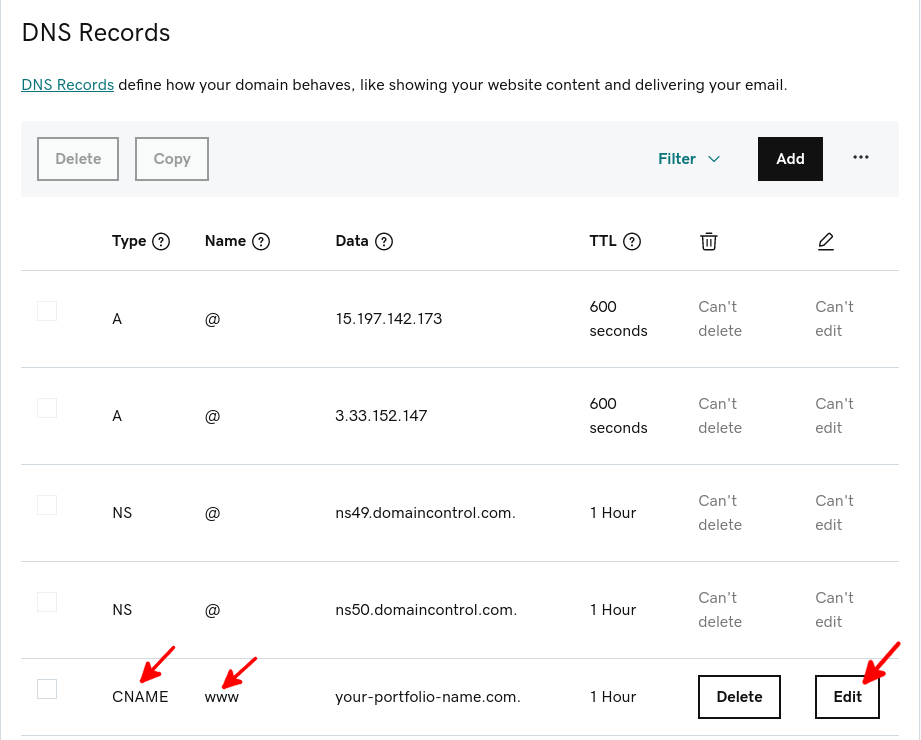
When you click on the Edit button additional options will be revealed. Here you need to edit the Value field for the www record so it points to proxy.crevado.com as shown below. Click on the Save button to save your changes.
NOTE: It may take up to 48 hours for these changes to propagate throughout the internet.
Rejoice! All your domain configuration work is done - the final step is to setup the Crevado side of things.
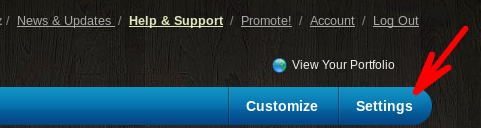
Login to Crevado Admin and click on the “Settings” tab.
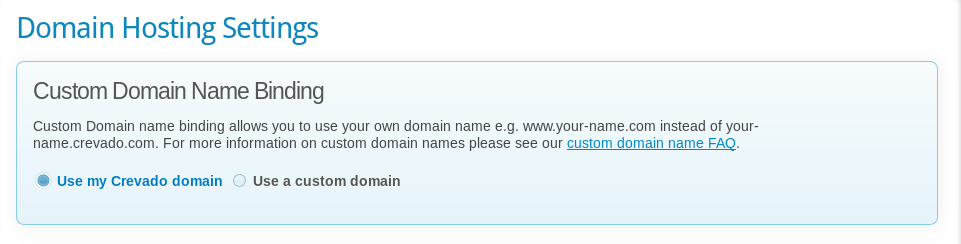
 Scroll down to “Domain Name Binding” under “Domain Hosting Settings”
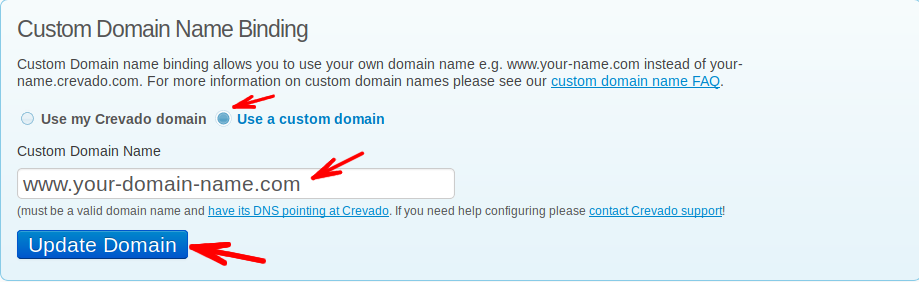
 Click on “use a custom domain” and add the WWW version of your domain name in the field provided and click the “update domain” button.
That’s it! Now all you need to do is wait for the DNS changes to take effect
Remember: The DNS changes you made at your registrar can take some time to propagate to DNS servers around the internet (anywhere from one hour to one day).