The following article describes how to link your Namecheap.com registered Domain name with your Crevado Portfolio.
remember: custom domain name binding requires a Premium account for details see the plan comparison page
-
Log in to your account at Namecheap.com
-
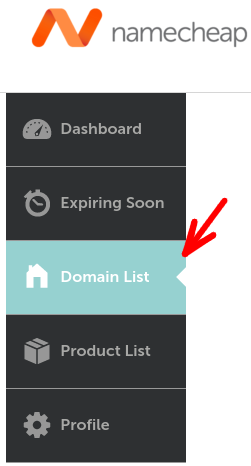
Once logged in, select Domain List on the left hand menu as pictured below:
- Locate the domain from the list of domains displayed and click associated manage button :
-
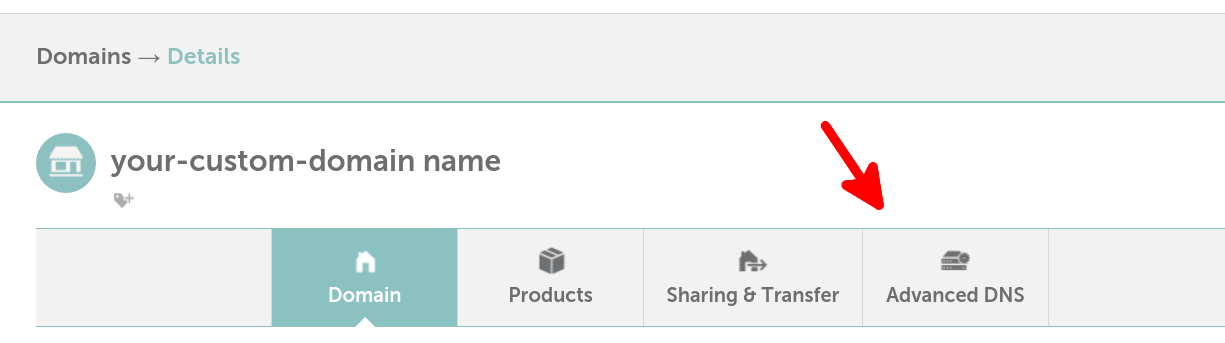
From here, click on the Advanced DNS section:
-
At this point you should be able to configure the records under the Host Records section.
If you are not given the option of configuring host records you'll need to ensure you switch back to using the NameCheap DNS servers by clicking the 'change DNS type' link under Host Records
-
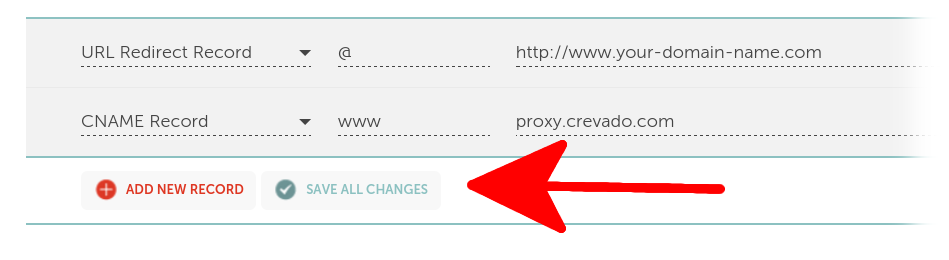
When configuring the host records section you need to ensure you have an '@' and 'www' host record which is configured as follows:
- A CNAME Record with host www and value proxy.crevado.com.
- A URL Redirect Record with host @ and value in the format: http://www.your-domain-name.com/ don't forget to set the redirect type to Permanent (301) has indicated in the image below
The following image illustrates how this should look like once configured like above:
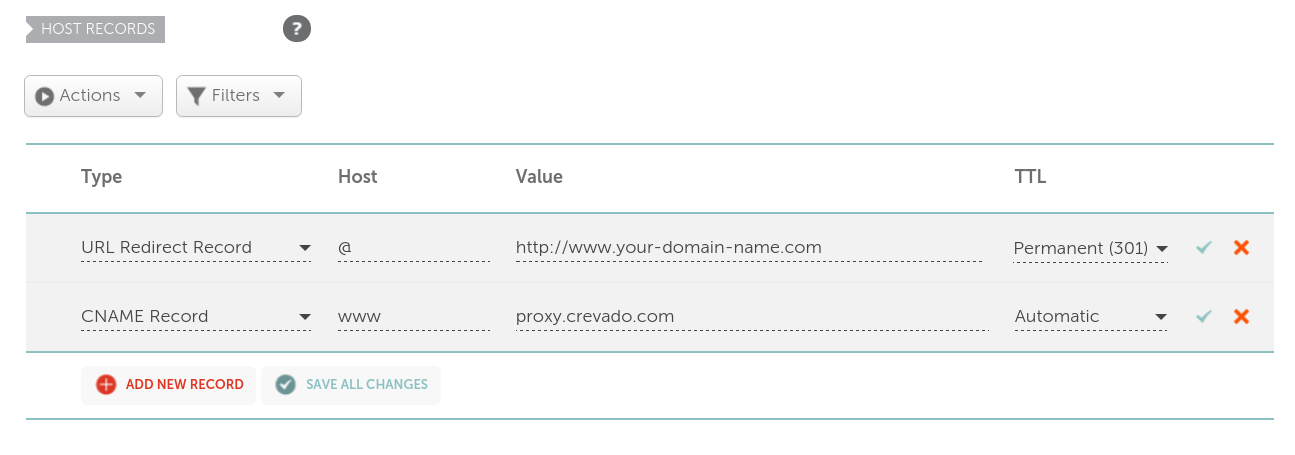
note: if you have additional host records defined for '@' or 'www' then you should remove these records so you only have a single record for '@' and 'www' defined as above. Below is a screenshot of how this should look:
-
Once you have made the necessary changes click the Save All Changes button
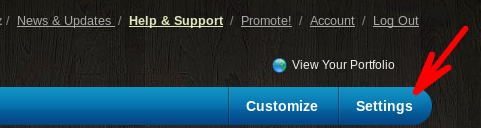
- Now you need to login to the admin of your portfolio. Click on the “Settings” tab.
- Scroll down to “Domain Name Binding” under “Domain Hosting Settings”
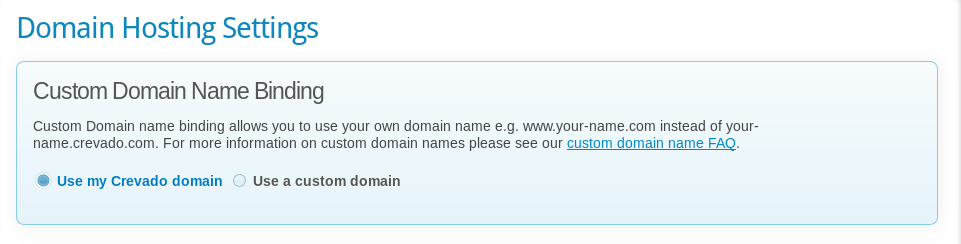
- Click on “use a custom domain” and add the WWW version of your domain name in the field provided and click the “update domain” button.
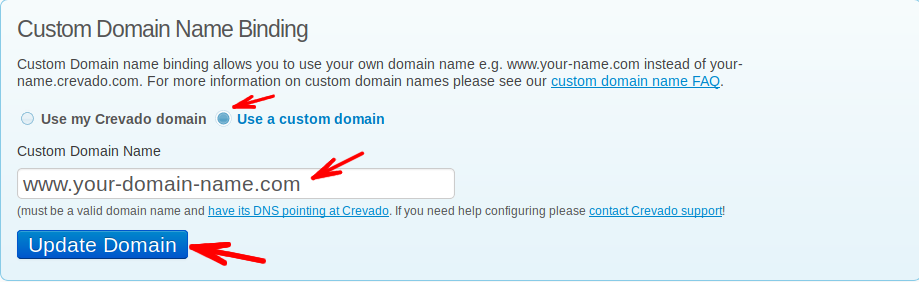
- That’s it! Now all you need to do is wait for the DNS changes to take effect
Note:
- If “All Host Records” does not appear on your Namecheap domain details page, your DNS has already been changed from Namecheap’s default servers to custom servers.
- If this is the case, you must first transfer the DNS back to Namecheap with the following steps:
- Click the “Transfer DNS Back to Us” button in the left toolbar
- Check the “Transfer the DNS back to us” checkbox
- Select the “Use NameCheap DNS Servers” radio button (NOT the NameCheap Hosting DNS Servers)
- Click ‘Save Changes’
- And now follow the above instructions for setting up the CNAME DNS Settings
If you run into any trouble, you will find it more helpful to first contact NameCheap for support as they have access to those settings (while Crevado doesn’t). Here is a direct link to their Support Page.**