How Do I Enable Disqus Integration so people can leave comments on my Work?
It’s pretty easy! Crevado has built in support for Disqus, a popular and comprehensive commenting system for modern websites.
Got Your Disqus Account Details?
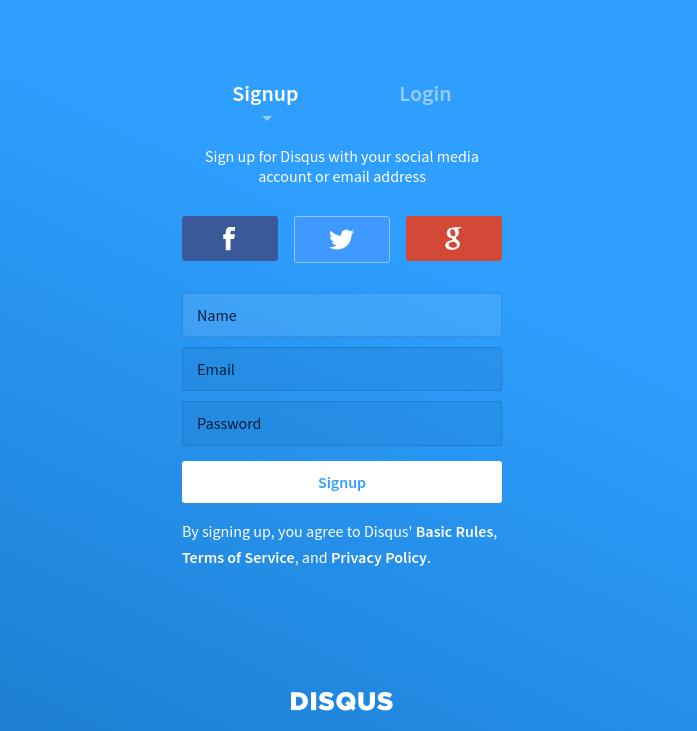
Before you can enable Disqus integration you need to have a Disqus account. If you don’t have a Disqus account go here and sign up by clicking on one of the Get Started buttons. Once you do, you will need to enter a Name, an email address and create a Password. Then click on the white Signup button:
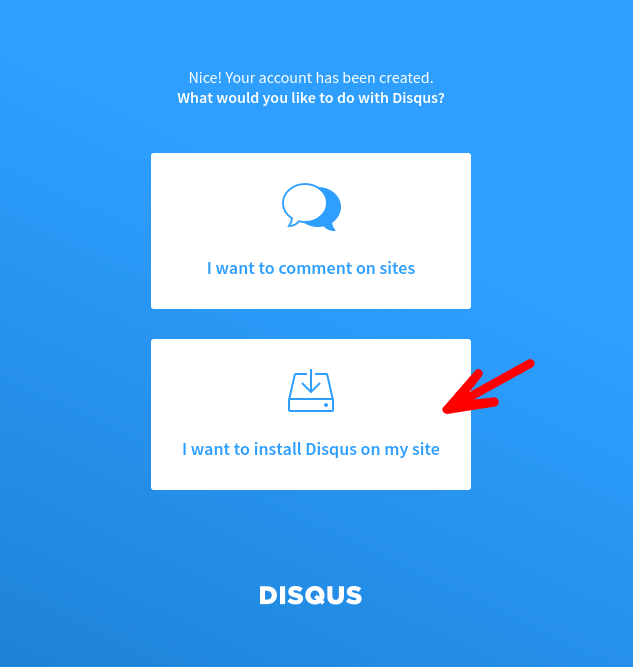
Next you need to click on the "I want to install Disqus on my site" button as shown below:
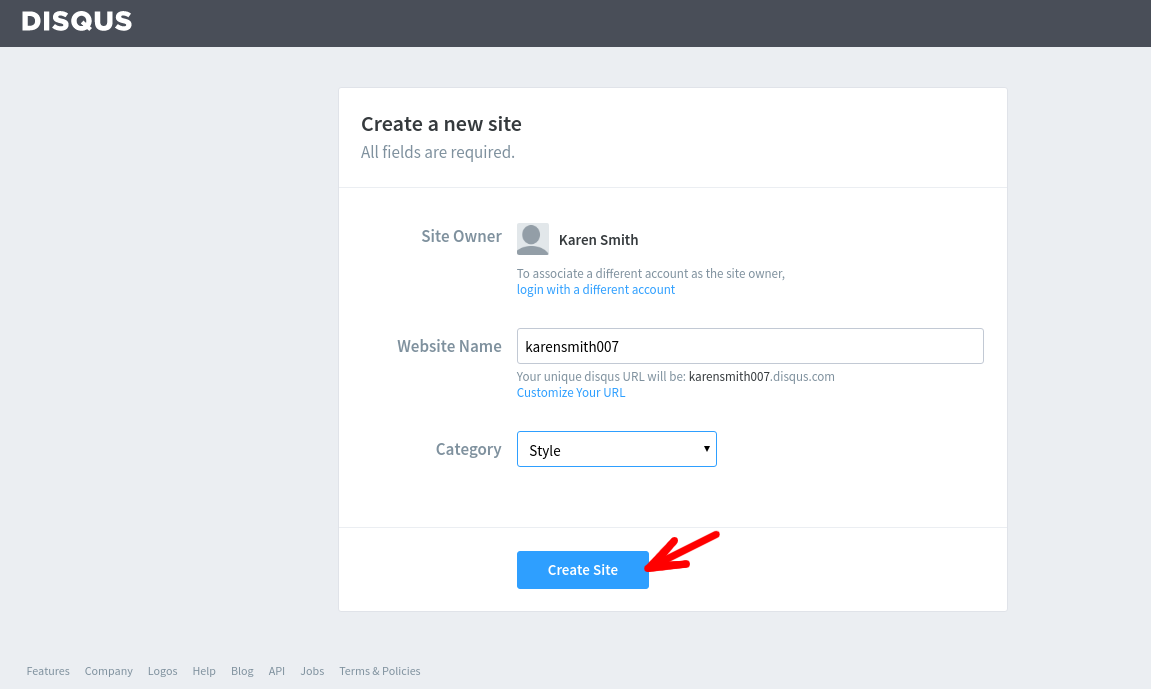
This will bring you a new page where you must choose your Disqus Website Name and select a Category for your profile and then click the on the blue Create Site button:
NOTE: Please take note of your Website Name as you will need this later to finish the set up process!
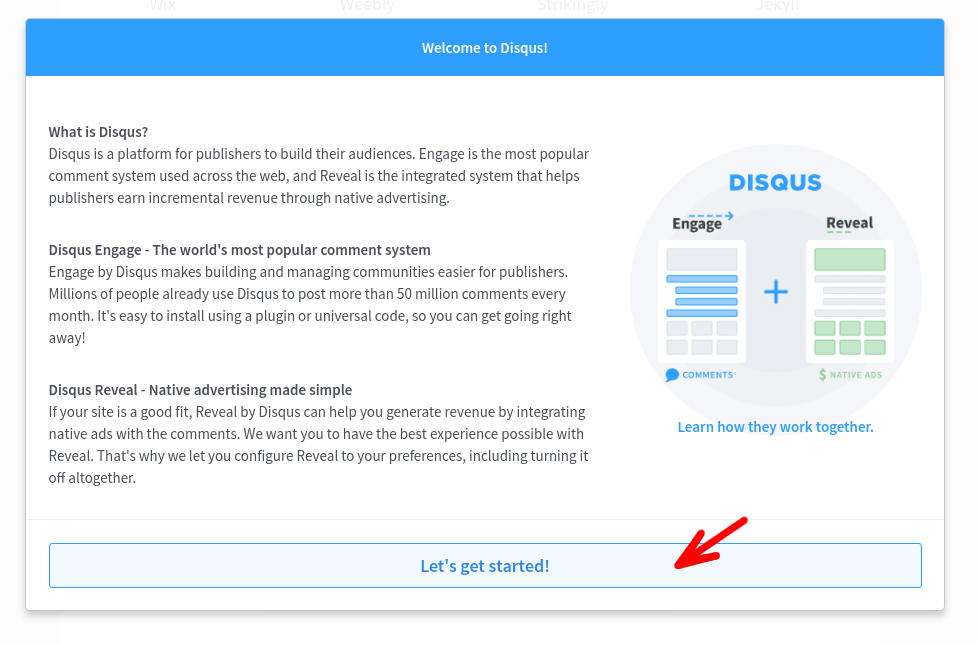
The next page you will see is an Disqus information page and you need to click on the Let's get started! button as shown below:
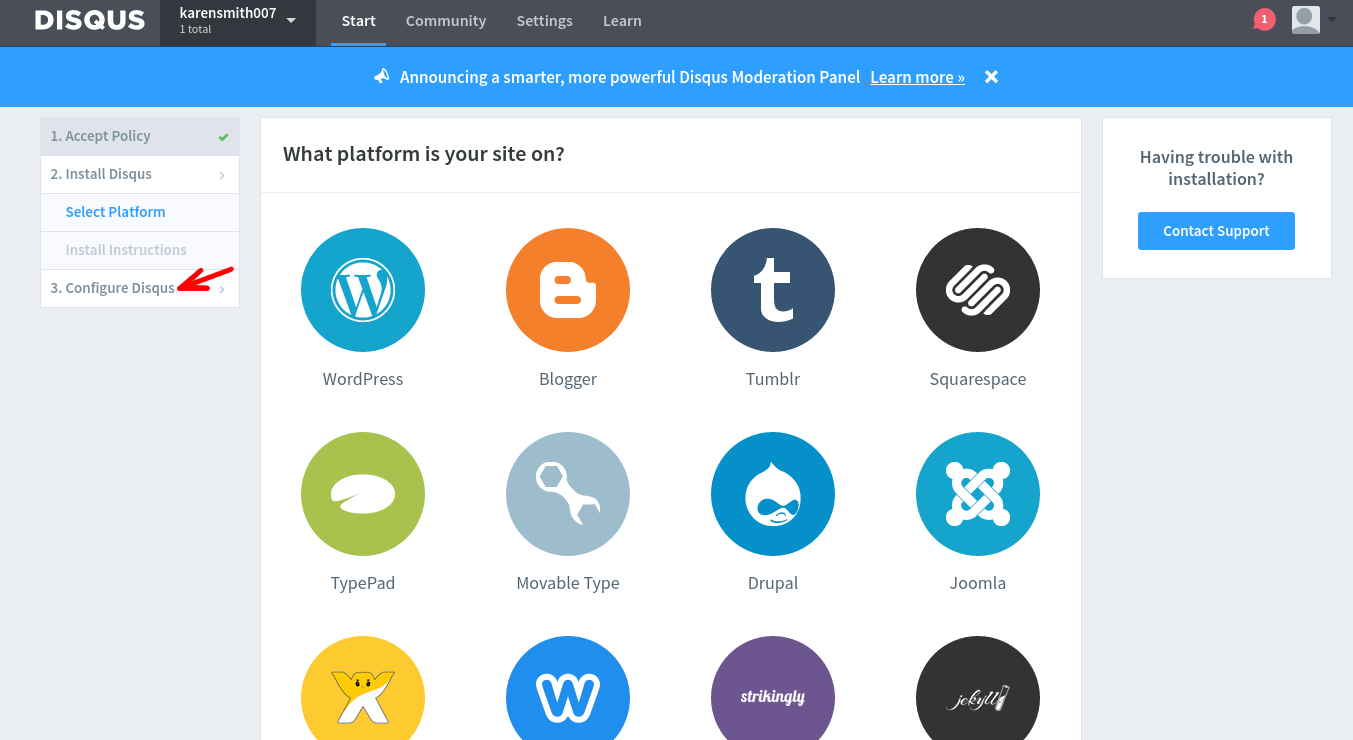
The next page you will see is about Platforms, once here simply click on option 3 - Configure Disqus on the left of the screen as shown below:
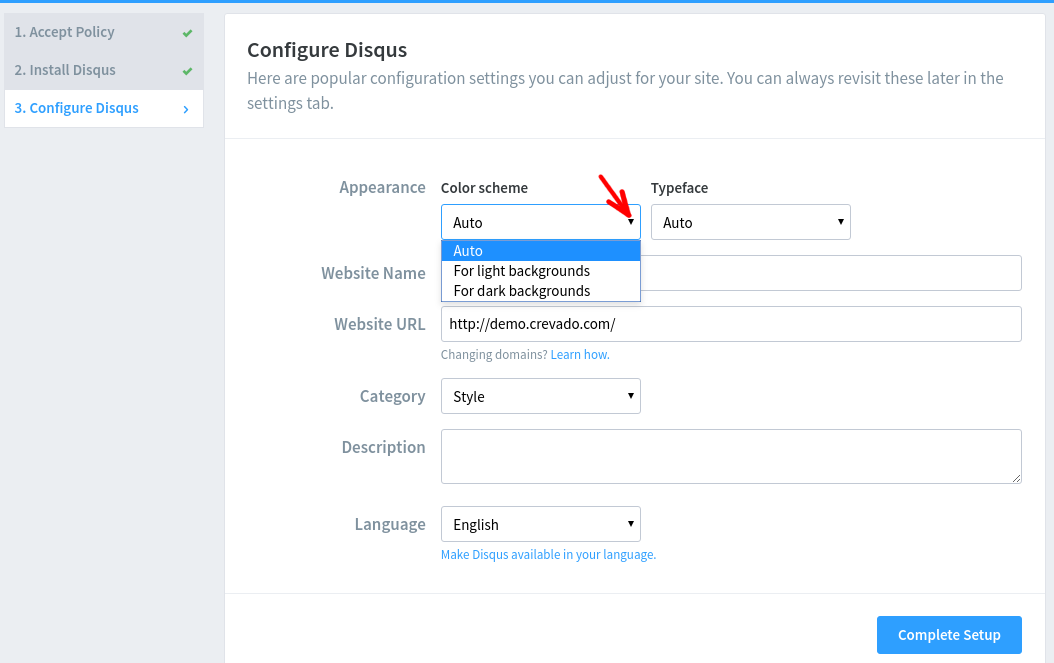
Now you are on the Configure Disqus page. Firstly, you need to select the Color Scheme that will suit your Portfolio best. This should be selected based on the Theme that you use for your Crevado Online Portfolio. You can see the options, "For Light Backgrounds" or "For Dark Backgrounds" by clicking on the arrow under the Color Scheme heading and a drop down menu will appear:
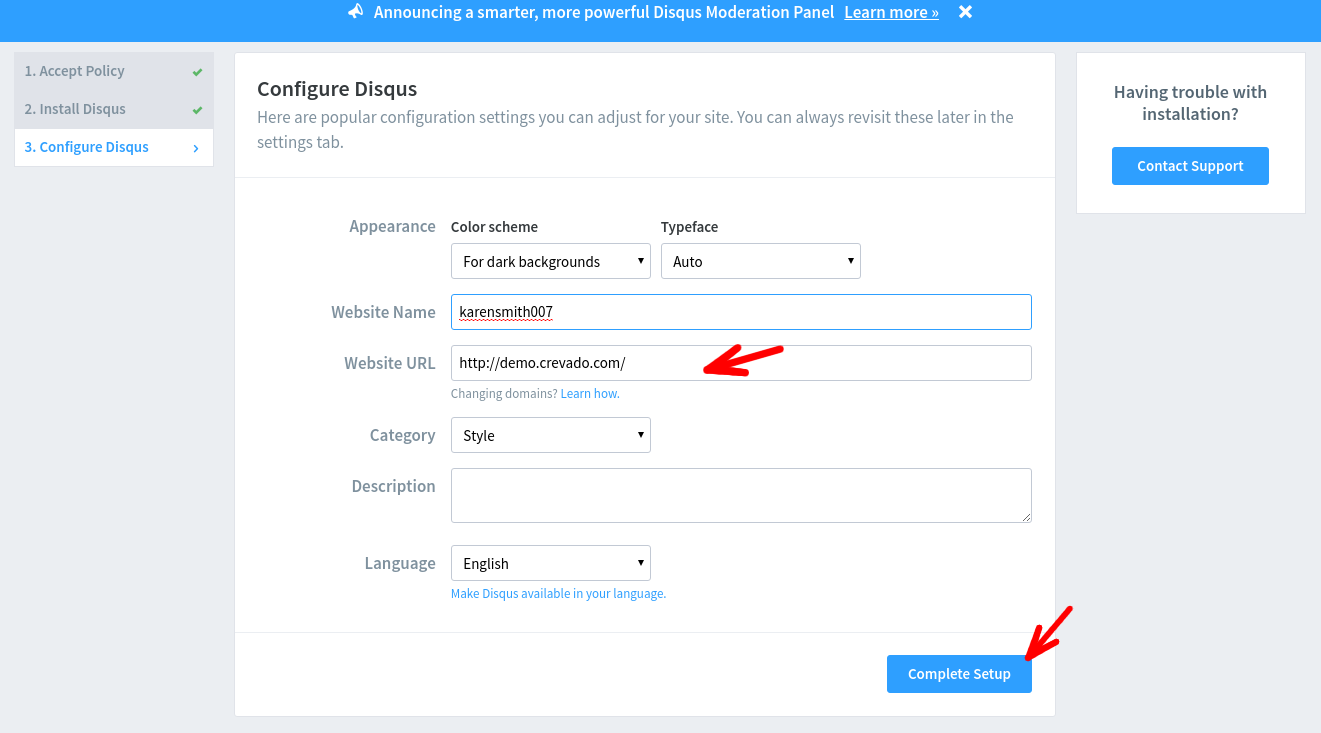
Next you need to enter your Crevado Portfolio URL in the Website URL field, e.g. if your Crevado domain is ‘demo’ then your URL would be http://demo.crevado.com/. If you are using a custom domain name then you'll need to use the full address of your custom domain for example, http://www.your-online-portfolio.com. Once you have done these steps then click on the blue Complete Setup button.
NOTE: When entering your Portfolio Website URL, avoid prefixing your domain with www. unless it’s part of your Crevado Domain name!
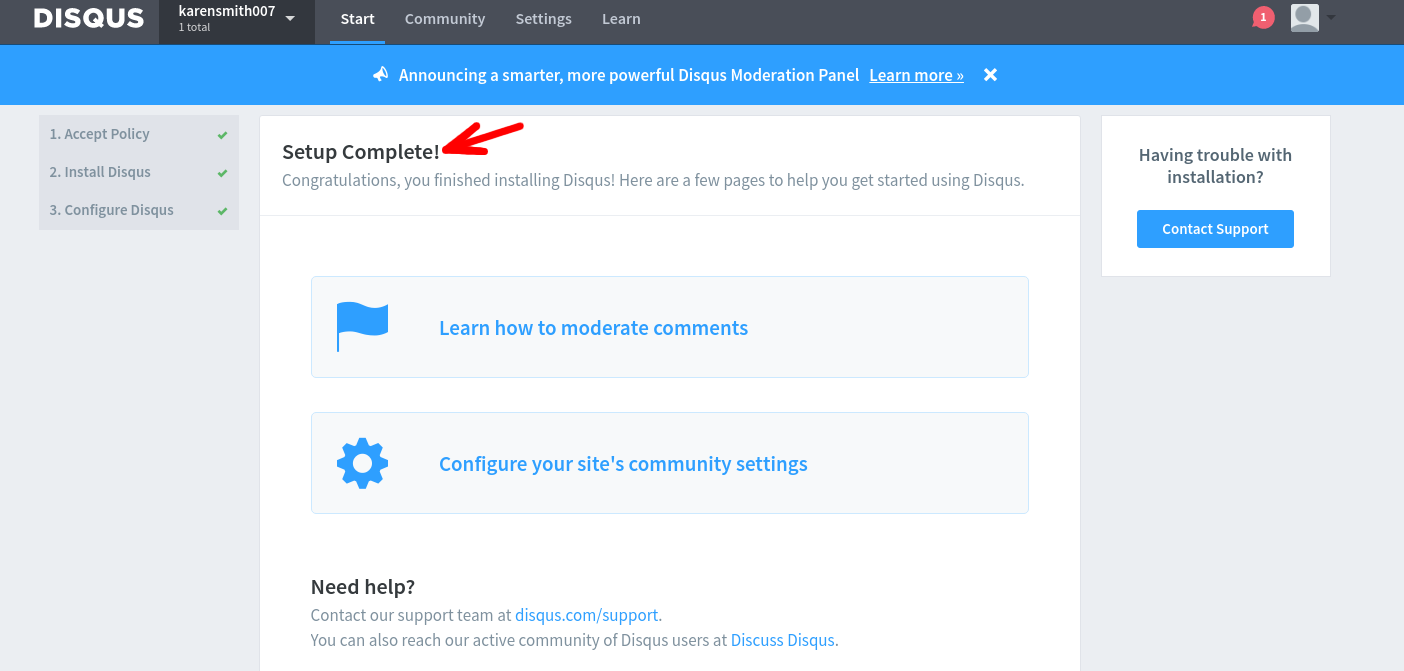
That's it, you are finished with Disqus and this is the page you will see displayed Setup Complete!:
What's next? Well now that you’ve got your Disqus account setup, we need to tie it to your portfolio. So switch back to Crevado Admin and enter your Discus Website Name to tie it to your portfolio - keep reading to find out more!
Enabling Disqus Comments with your Crevado Portfolio:
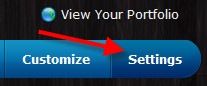
From Crevado Admin click Settings:
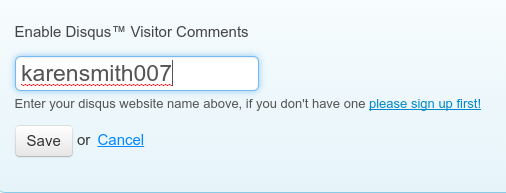
Scroll to the Disqus feature box and enter your Disqus Website Name to activate the integration (if you don’t know what a Disqus Website Name is see the top section of this article).

Once you’ve entered your Disqus Website Name just click Save and Disqus Integration will be activated:
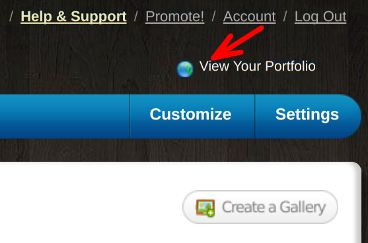
You should verify that the comments system is working by clicking the View Your Portfolio link:
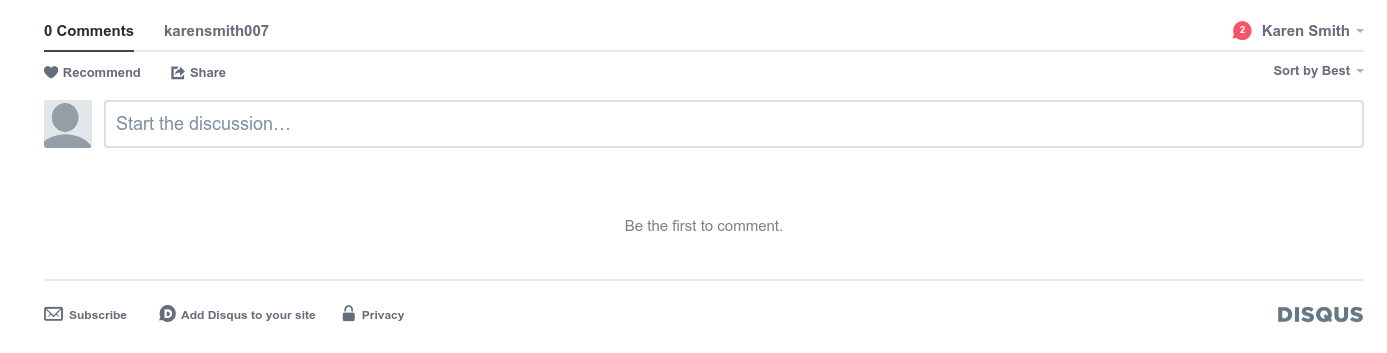
When viewing a Gallery you’ll see the comment system load underneath the main stage.
Can the Comments System be Disabled for certain items?
The comments system can be enabled/disabled on a per Gallery basis. To change whether the comment system is enabled for a particular Gallery simply select the Gallery from the main Galleries section. Then scroll down through the Gallery Configuration until you find the Comment setting box.
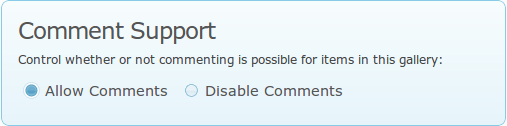
Here you can enable/disable the comments system for the Gallery in question.
Enabling Disqus Comments on a Content Page:
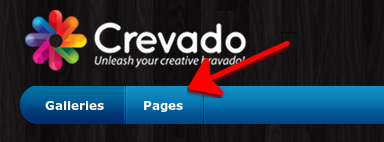
Once Disqus support has been enabled you can optionally enable commenting on select content pages too. If you wish to do this, from Crevado Admin click Pages:
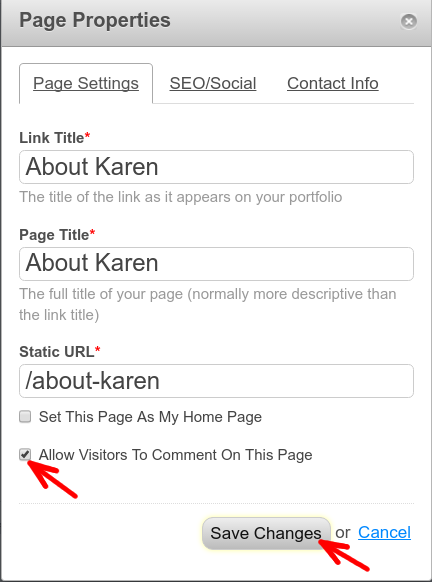
From Pages locate your About Page and click the related Page Properties (pencil) icon:

A pop-up will open and you simply tick the box next to "Allow visitors To Comment on This Page" to enable comments and then click on Save Changes:
Now, at the bottom of your About Page on your Crevado Online Portfolio website you will see the Disqus comments area, depending on the Theme you are using it will look something like this: