Adding an Image-based Header or Logo to Your Portfolio

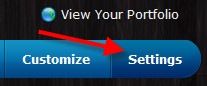
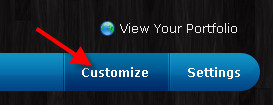
You can replace the plain text name of your Crevado Online Portfolio with a graphic if you so wish. To add/change/remove your header image, click Customize:

The customization area of Crevado Admin allows you to customize the visual appearance of your portfolio. Partway down the page, you will see the Portfolio Header section and the Header Image/Logo box:

Click on the Header Image/Logo box to reveal the header images options which we discuss below!

To Upload a New Image or Change an Existing Image:

To upload a new image or change an existing image, once you have clicked on the Header Image/Logo box, next click on Select Photo:

TIP: For the best results we recommend using the SVG or PNG image format. The max logo size is 1480x620 pixels.

TIP: If your image requires the use of transparency then we recommend using a PNG image format.

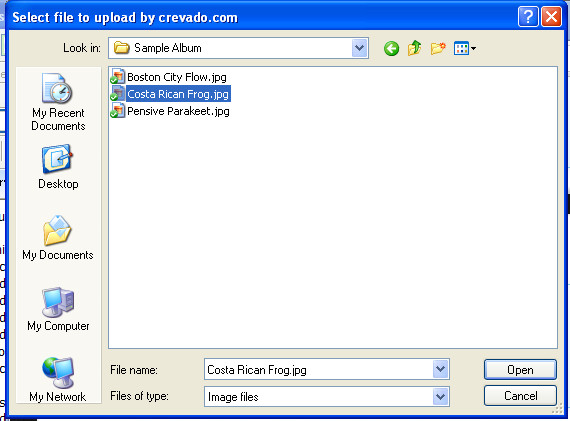
From the file selection dialogue, select the image from your computer then click Open:

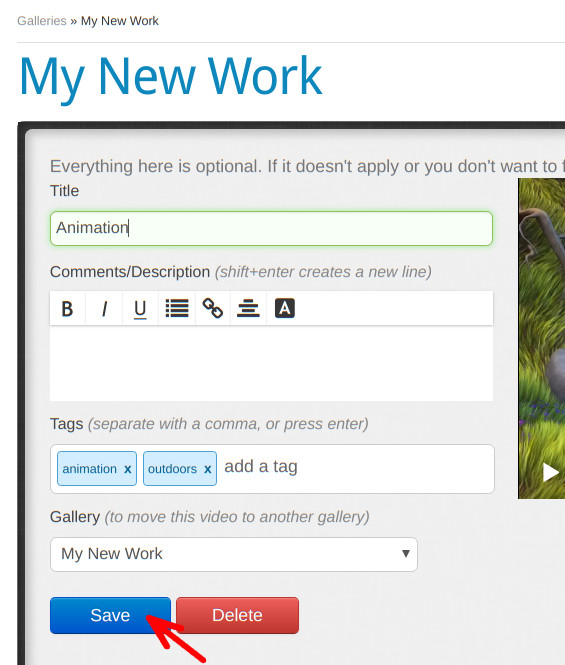
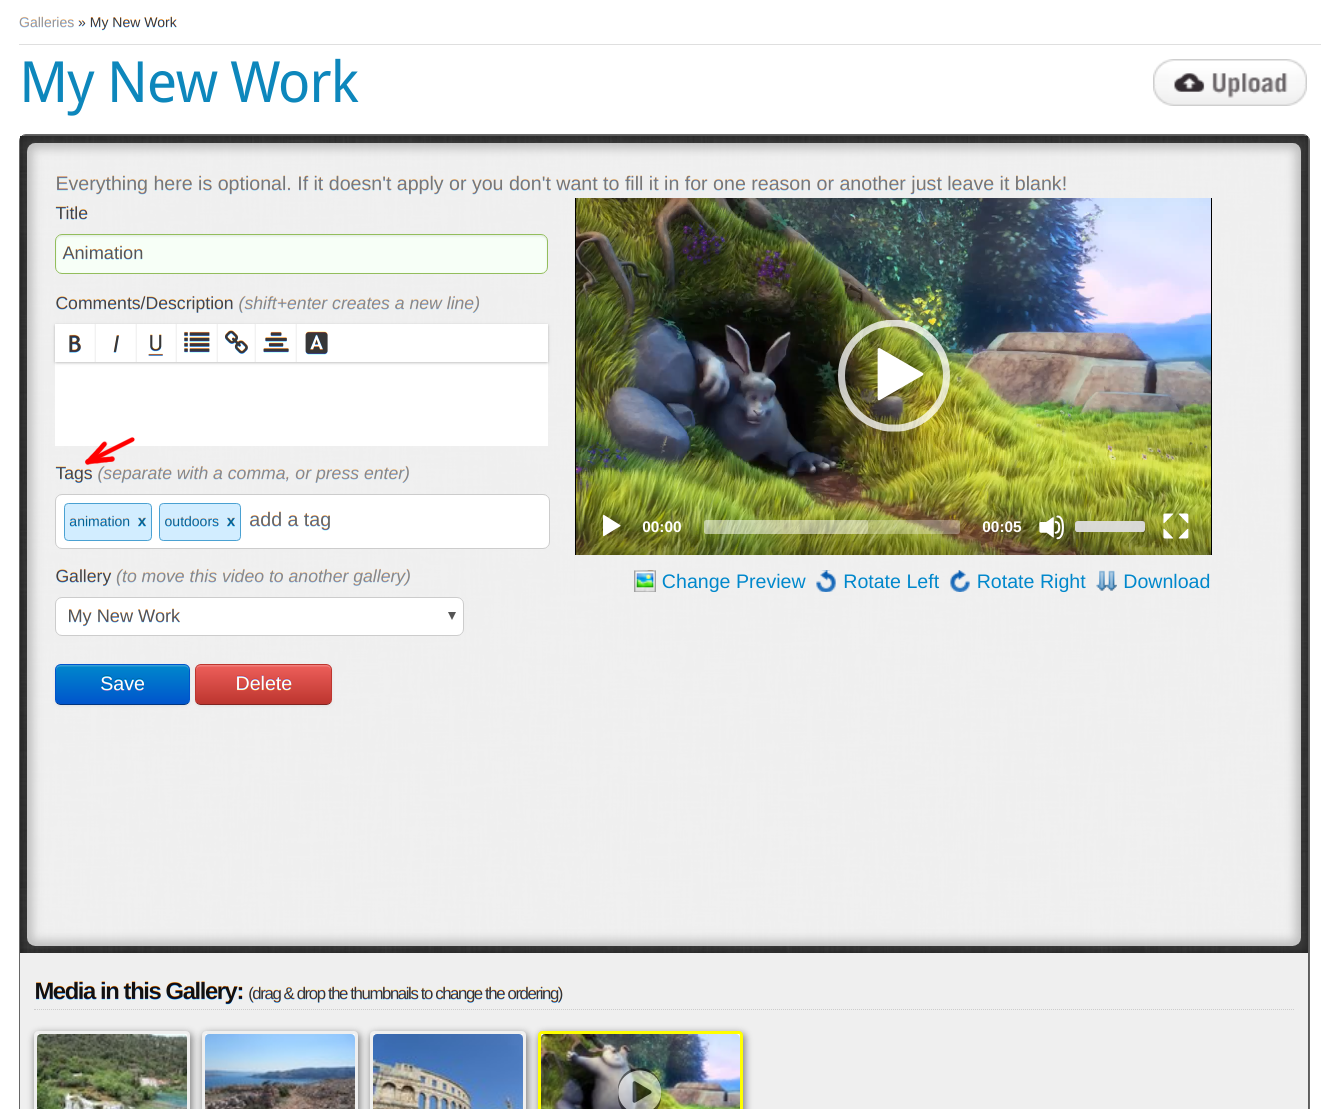
Once uploaded, a preview will appear in the Header Image/Logo box. To see how it looks, you can click View My Portfolio at the upper right of Crevado Admin.

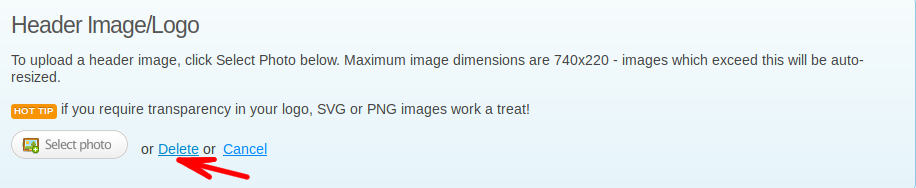
To Remove a Logo From Your Portfolio:

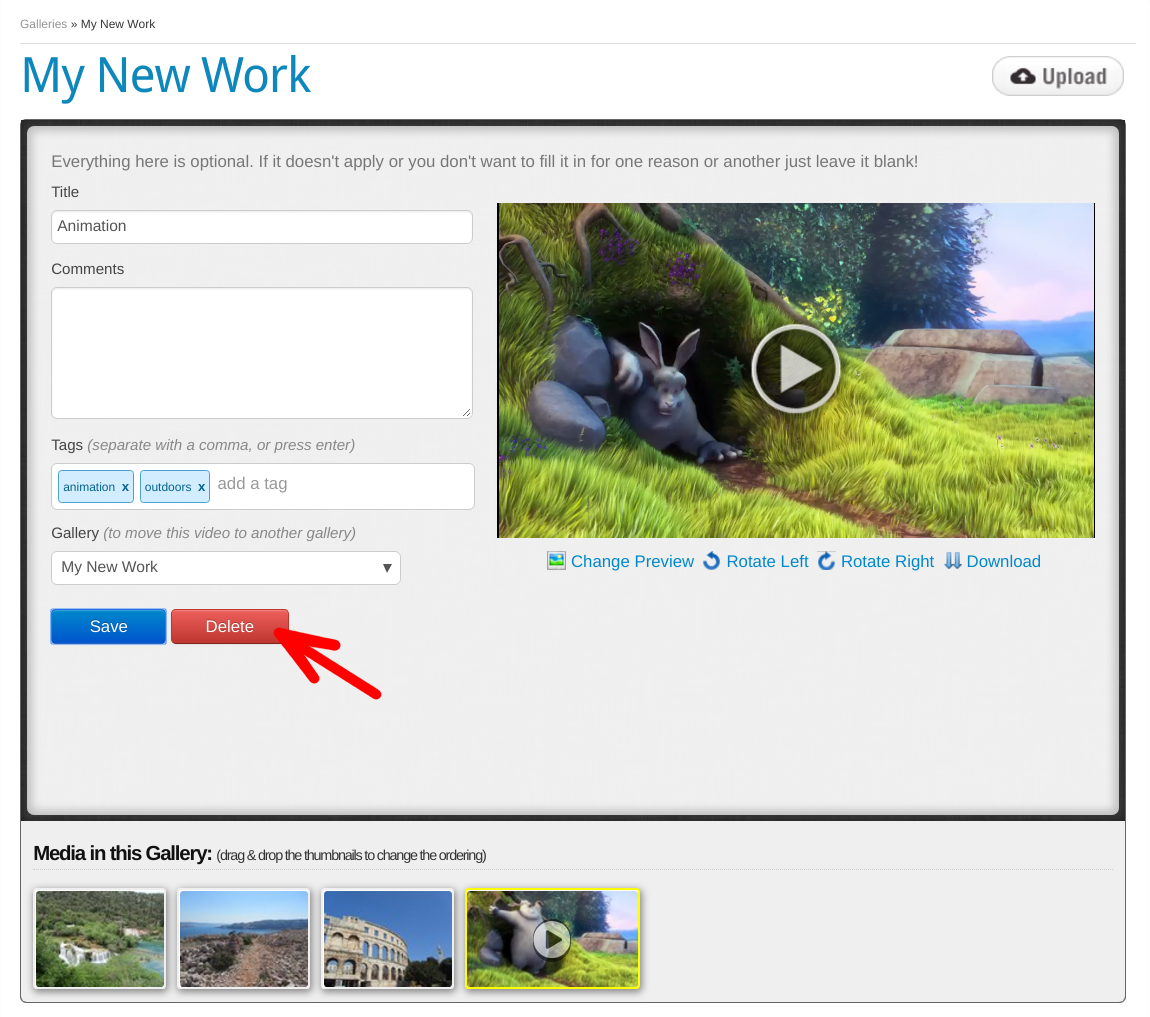
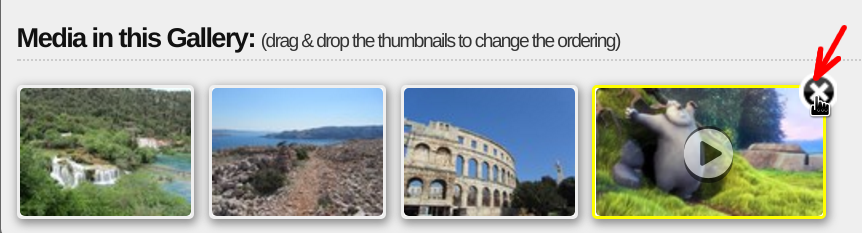
If you want to remove the logo, just click on the image displayed in the Portfolio Header/Logo box and then click on Delete:

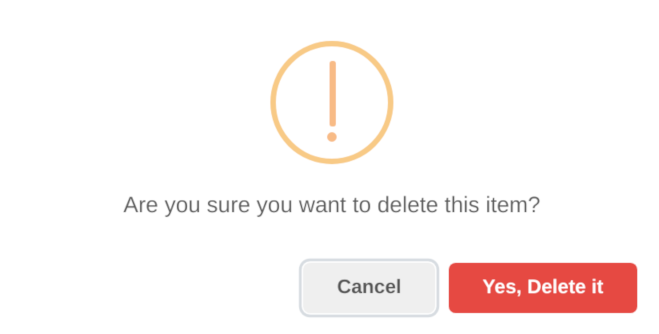
A pop-up will open asking you to confirm that you wish to delete the image, click OK to proceed and the image will be deleted:

Moving Images Between Galleries

Want to move an image from one Gallery to another? - no problem! Keep reading to find out how!

From Crevado Admin click on Galleries:

Locate the Gallery that contains the image that you want to move to a different Gallery - click on the Gallery to select it. For this example we are using the Food Photography Gallery:

Once you've selected a gallery you'll be taken to the Gallery admin page. Now locate the image you want to move in the Media in this Gallery section - click on it to select it. The image will then be displayed at the top of the page:

To move the image to another Gallery simply change the Gallery the image lives in by clicking on the Gallery dropdown option:

Click the blue Save button to save your changes.

A yellow pop-up at the top of the screen will state Changes updated! Image moved OK. The image will now be displayed in the new gallery. You can repeat this process for any other images you wish to move.

How Do I Download an Image?

If for some reason you need to download a copy of an image you've previously uploaded then you can do this as follows.

Select the Gallery which contains the image you wish to download by clicking on that Gallery.

Select the image you wish to download by clicking on its thumbnail. The selected image will have a yellow border:

The selected image will now be displayed in the editing area and simply click on the Download button located underneath the image, as shown below:

A closer look at the download button:

Your image download should begin shortly.

What Image Sizes and Formats Can I Use?

Images should be a minimum of 1024 x 768, in either JPG or PNG format. We recommend you upload images which are upto 3600x3600 pixels in JPG format.

For colorspace profiles, we recommend a RGB/sRGB or Adobe ProPhoto. DON'T USE CMYK - this is a print colorspace profile and doesn't work on the web!

How Do I Add a Video?

Remember: Video support is only available with a Premium Account for details see the plan comparison page

Select the Gallery you want to upload images to by clicking on Galleries:

Next, click into the Gallery of your choice (we’ll assume it’s empty for the purposes of this article).

The Gallery welcome screen will appear if your Gallery is empty, if not you’ll see the existing items in your Gallery.

Adding a Video is just as easy as adding an image! Just click on the Upload button icon on the upper right of the Gallery page.

Select your movie file and click Open. A progress bar appears to show you the progress of your Video upload. Be patient though, Video files can be large!

When the upload is complete, the video will be queued for transcoding so it can be used on the web.

Depending on the length of the Video, this process may take a few minutes. When the encoding has finished, the processing message disappears and you will see this message:

HUZZAH! Your Video will appear, ready to be played and if you want, you can add additional information about the video, such as a title, description and tags now too.

If this video should repeat/loop after playing then you should tick the always loop/repeat this video when playing tickbox as shown in the following screenshot and then click the blue Save button:

Pretty easy right! For a more detailed description on how to edit video details click here!.

How Do I Edit Video Details?

Once you have uploaded a video to one of your Galleries, you can then enter additional information to tell viewers more about it, if you wish!

Firstly, click on the video you wish to edit from the media thumbnails displayed in the Media in this Gallery area. The selected video will have a yellow border:

It will also appear in the display at the top of the page:

As you can see, the following fields can be managed from here:

  • Title
  • Comments/Description
  • Tags (Applying tags enables you to group media with similar attributes)
  • Gallery (Useful if you want to move the video to another Gallery)

All fields on this page are completely optional, if an attribute doesn’t apply or you don’t want to fill it in then leave it blank!

To enter information for any field simply click on the box below the field:

Click the blue Save button when you have made your changes!

Tags

Tags are used to group media across your entire Crevado Portfolio. This enables viewers to browse similar media in your Portfolio by clicking on the tags. For the best results tags should be short and broad termed and kept to a handful of tags per medium. For example, to this video (Animation) you might assign the tags animation and outdoors and don't forget to click Save when you are done:

In future, when a viewer clicks on any of these tags from our example above (i.e. animation and outdoors), that will be displayed underneath the media in your Portfolio, they will see this video and any other video to which to you have assigned any one of these same tags. You can remove tags by clicking on the X next to the tag:

Preview Image

If you upload a video, a frame is taken from the video and used to create an image which represents the video. This is called a preview image. To associate a new preview image with a video, click the Change Preview link underneath the video.

If the orientation of the preview image is incorrect you can rotate it from this page using the Rotate links underneath the video, i.e. Rotate Left or Rotate Right:

Finally, if you need to, you can download a copy of the preview image from Crevado’s cloud storage by clicking the Download button underneath the preview image.

NOTE: Don't forget to click Save when you’re done making changes! A pop-up message will confirm that any changes have been saved successfully.

How Do I Delete a Video?

To delete a video go to the Gallery that contains the video you want to delete and select it from the Media in this Gallery area. The selected video will have a yellow border:

It will also appear in the display at the top of the page. Simply click the red Delete button as shown below to remove the video and its associated information:

A pop-up will ask you to confirm that you wish to Delete the video and allows you to Cancel if you have changed your mind:

Once you click OK and the video is deleted a yellow pop-up at the top of the screen will state Delete Successful!.

You can also delete any video by clicking on the X which appears when you hover over the thumbnail of the video. Once again, a pop-up will ask you to confirm that you wish to Delete the video and allows you to Cancel if you have changed your mind!

Tracking Visitors to Your Crevado Portfolio Using Google Analytics

So, ugh, what is Google Analytics?

Google Analytics is an analytics tool from Google which can be used to obtain detailed reporting of visitors to your portfolio. It’s capable of reporting on a wide variety of data. For example, Where are the visitors located? How did they find your site? etc.

Sounds good! How do I set it up?

If you don’t have one already you’ll need to sign up for a Google Analytics account. Go to the Google Analytics home page and create one then create a new profile for your Crevado Portfolio:

Enter an Account Name and then click on Next:

In the Property Details area, enter a Property Name and then click on Next:

In the Business Information area, tick or select the option that applies to you and then click on Next:

In the Choose Your Business Objectives area, tick or select the option(s) that apply to you and click on Create:

Once you click on the create button a Terms and Conditions pop-up will open. You will need to Accept these to proceed.

You will then be brought to the Start Collecting Data page. Here, click on Skip For Now button:

Next, on the You're Almost There page, click on the Set up data collection button as shown below:

Here you need to click on the Web option:

This will take you to the Set up your web stream page where you need to enter your Website URL and your Stream Name and then click on the Create Stream button:

You will then be brought to the Web Stream Details page and here you need to take note of the MEASUREMENT ID as you will need this tracking ID to put into Crevado:

NOTE: The above tracking ID is just an example - you must use your own tracking ID created for your own Portfolio or it won’t gather any statistics!

Once you have a tracking ID, jump back to Crevado Admin and click on the Settings button:

Scroll down and click on the Google Analytics section:

Then click on it and enter your Analytics Data Stream Measurement ID and click Save:

NOTE: The insertion of web tracking code from Google is NOT necessary, Crevado inserts the necessary code automatically once you enter your Data Stream Measurement ID - pretty neat, huh?

Congratulations! You’ve just enabled visitor tracking and from now on visits to your portfolio will be tracked and reported on in Google Analytics.

How Do I Edit Image Details

Once you have uploaded an image to your Gallery, you can enter additional information about it, to tell viewers more about your work.

Click on the image you wish to edit from the image thumbnails displayed in the Media in this Gallery area of the Gallery. The selected image will have a yellow border:

It will also appear in the display at the top of the page:

As you can see, the following fields can be managed from here:

  • Title
  • Physical dimensions (width/height - note, you can swap between inches and cm via the settings area)
  • Year
  • Price (If it is for sale you can enter a price for your piece)
  • Comments/Description
  • Tags (Applying tags enables you to group media with similar attributes)
  • Gallery (Useful if you want to move the image to another Gallery)

All fields on this page are completely optional, if an attribute does not apply or you don’t want to fill it in then leave it blank!

To enter information for any field simply click on the box below the field e.g Title:

Click the blue Save button when you have made your changes:

Tags

Tags are used to group media across your entire Portfolio. This enables viewers to browse similar media in your Portfolio by clicking on the tags. For the best results tags should be short and broad termed and kept to a handful of tags per medium. For example, to this image below (the pink flowers) you might assign the tags flower, pink, bee and don't forget to click Save:

In future, when a viewer clicks on any of these tags, that will be displayed underneath the media in your Portfolio, they will see this image and any other images to which to you have assigned any one of these same tags. You can remove tags by clicking on the X next to the tag:

Download

Also, if you need to, you can download a copy of the image from Crevado’s cloud storage by clicking the Download button underneath the image.

Rotate

If the orientation of your image is incorrect you can rotate the image from this page using the rotate buttons underneath the image.